If you’ve been following my journey, you already know — this has been one of the most requested pieces of content ever. I’ve been getting endless comments on the other blog posts asking, “When are you finally sharing all your Himalayan 450 mods?”
Well, the wait is over and today i am going to share complete list of mods I’ve done on my Royal Enfield Himalayan 450. Let me tell you that i have tested lots of mods since i purchased this bike and i am only sharing those who i believe best suited for me.
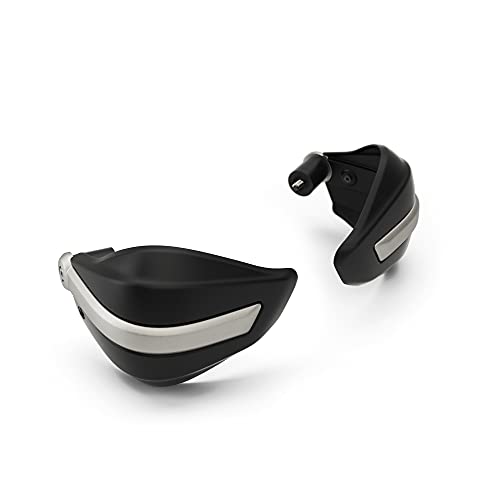
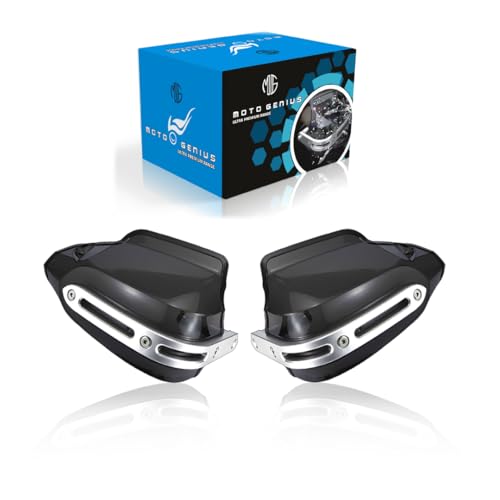
Knuckle Guards
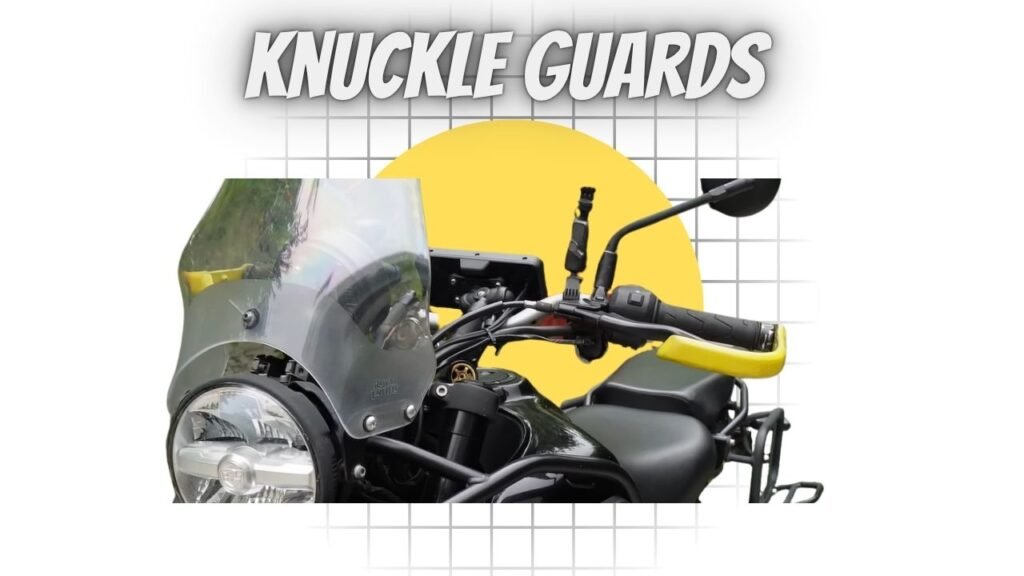
Let’s talk about something that everyone notices — those bold yellow knuckle guards.
Funny story: they’re actually from the Himalayan 411. I initially installed the full set, but during my last ride, one of the black covers came loose and disappeared somewhere around varanasi street.
When I reached home, I realized the bike actually looked better without them! So I removed the plastic guards completely, spray-painted the metal ones yellow to match the bike, and honestly — they look amazing now.
It has costed me around 2,550 rupees, they are solid tough and looks really amazing. i will try to put pictures here later.
Windshield Setup
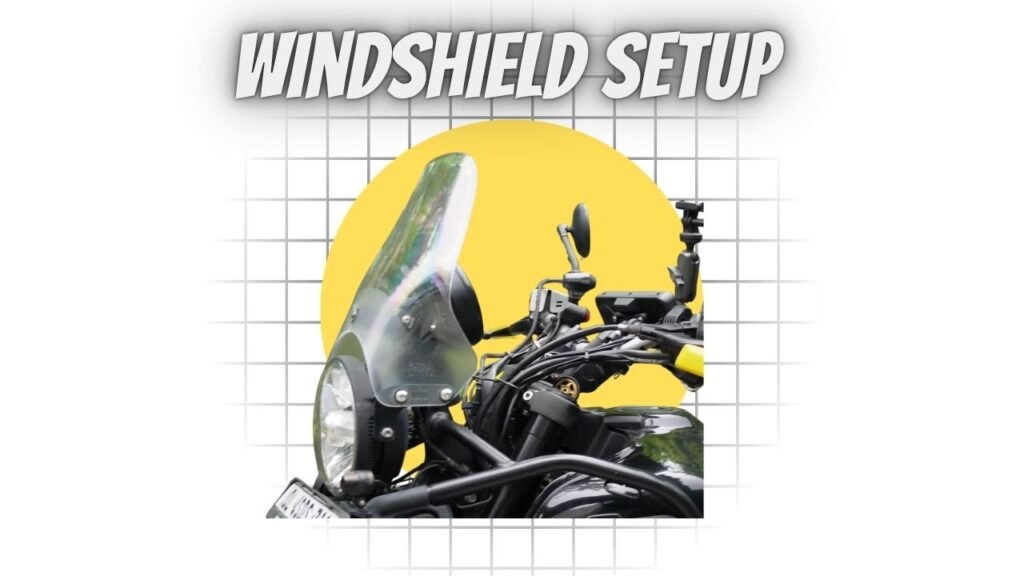
Lets be honest here, the default windshield given on Himalayan 450 is too short, and i was not able to cope with it so i decided to go with new after market setup. I initially installed Carbon Racing windshield which costed me around 2,200 and then added a Prospex extender which is of 2,500 rupees.
Initially it was good i though i have found balance but i was wrong it was blocking my view slightly which was really affecting my long drive capacity. so then i replaced with Himalayan 411 windshield, which cost me 523 plus about 500 for custom fitting. this is my jugaadu buddhi but let me tell you this is fantastic.
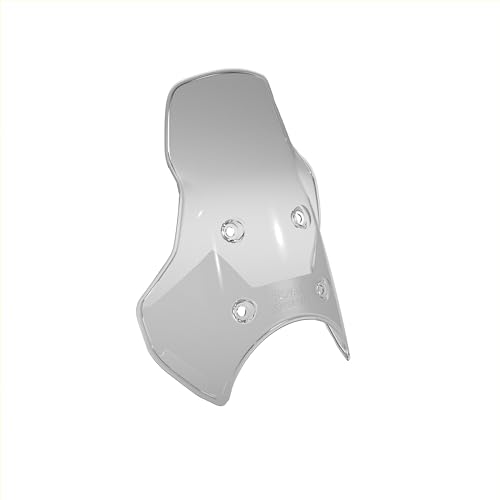
- Designed in UK- conceptualised and developed at our state-of-the-art UK tech center
- Seamless integration- engineered to fit prefectly and easily to your Royal Enfield
- Rigorous testing – tested on real road conditions for quality and durability
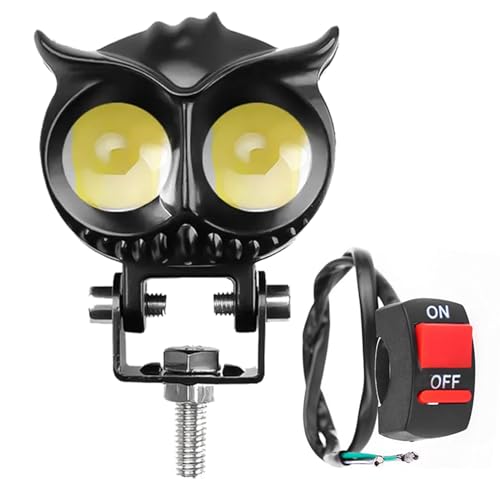
Fog Lamps and Navigation
Both my fog lamps are from HJG.
- Large lamps: 140W total (70W each, 7 LEDs each) – 9,000 with fitting
- Small lamps: 120W total (60W each) – 6,000 with fitting
Now I use the smaller ones as low beams and the larger ones as high beams.
For navigation, I use an ADS device that comes with a dash cam and TPMS — 16,000. Earlier, I used a Simtec waterproof mobile holder (1,900), but that required a separate phone. The ADS connects directly to my main phone, so it’s much simpler.
I also tested the Prospex cruise control (2,800). Not gonna lie — it’s not really worth it. It doesn’t feel entirely safe unless the bike has an electronic cruise system from the factory.
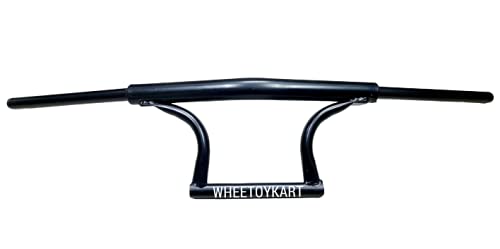
Handlebar, Crash Guard & Safety Mods
The handlebar is from Himalayan 411 (900 rs) and the risers are of 1,500. I changed it because the stock bar bends easily if the bike tips over. I tried an MTR 350 handlebar, but it gave a cruiser feel — not what I wanted. So I went back to the Himalayan setup.
The crash guard is from Motok, the slider type, costing ₹5,600. It’s way better than my previous Zana one (3,800 rs), which actually dented the tank during a fall.
I’ve also added an extra horn (800 rs), because the stock one felt too quiet.
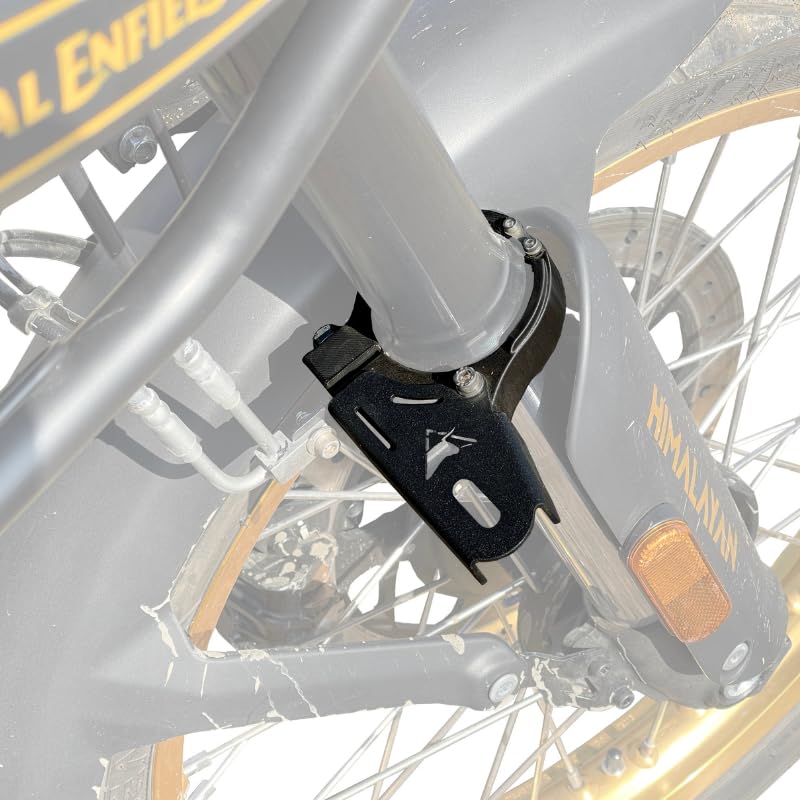
Luggage & Touring Setup
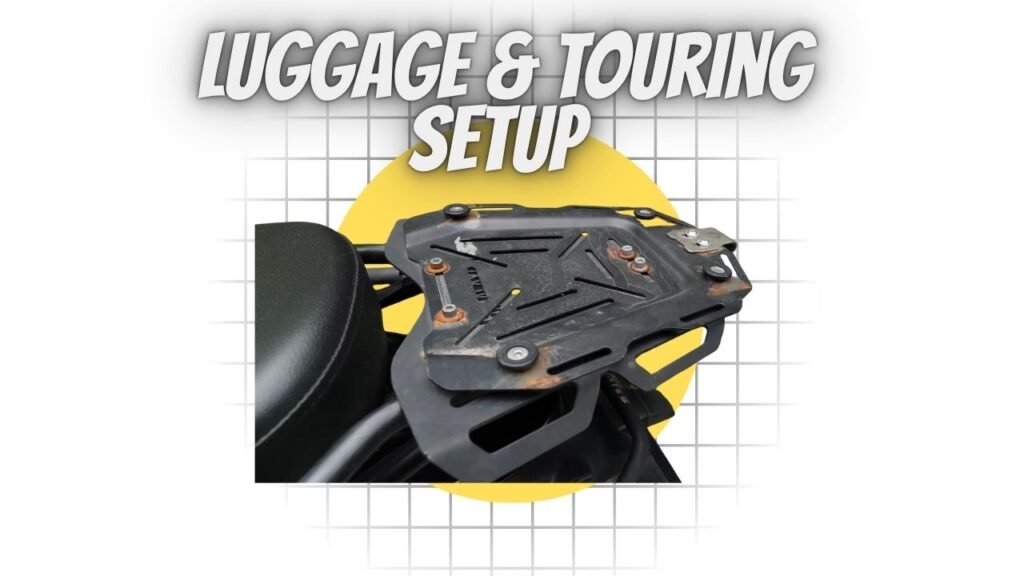
I’ve installed Zana saddle stays (3,600) and a Zana top plate (2,000) for my top box. These were super useful when I went touring with my mom.
There’s also a Zana radiator guard (2,200) and bash plate (2,750). The fuel reservoir cover (₹400) and master cylinder cover (700) are small but nice touches.
For action shots, I use an Osmo mount (5,000) to fit my Osmo Action 5 or Insta360 camera.
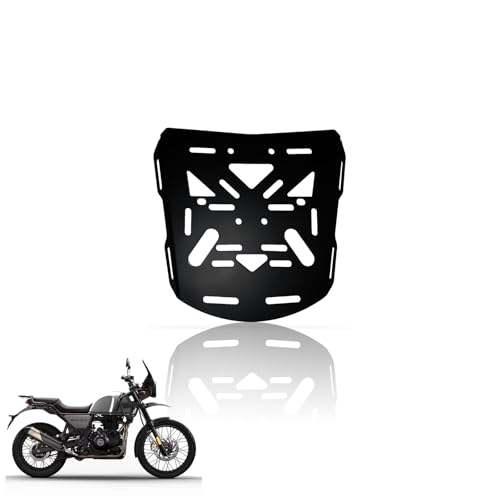
- Himalayan Genuine Accessories: Offers a range of genuine accessories including rear rack plates designed specifically fo…
- Load Capacity: Check the load capacity of the rack plate. Ensure it can support the weight of your gear or top box witho…
- Weight Distribution: Racks designed to distribute weight evenly can enhance stability and handling, especially when load…
Utility Additions
A 12V cigarette lighter socket (400) powers my tire inflator, and I’ve upgraded both seats with HD foam for better comfort on long rides.
When I bought the bike, tubeless rims weren’t available, so I went for a Way2Speed tubeless conversion kit — 7,000 plus fitting, totaling 10,000. It’s been working flawlessly for 18 months. Considering that new tubeless rims now cost 40,000+, that’s a win!
The Way2Speed air filter (3,750) has also made a noticeable improvement in low-end torque.
Tire and Suspension Setup
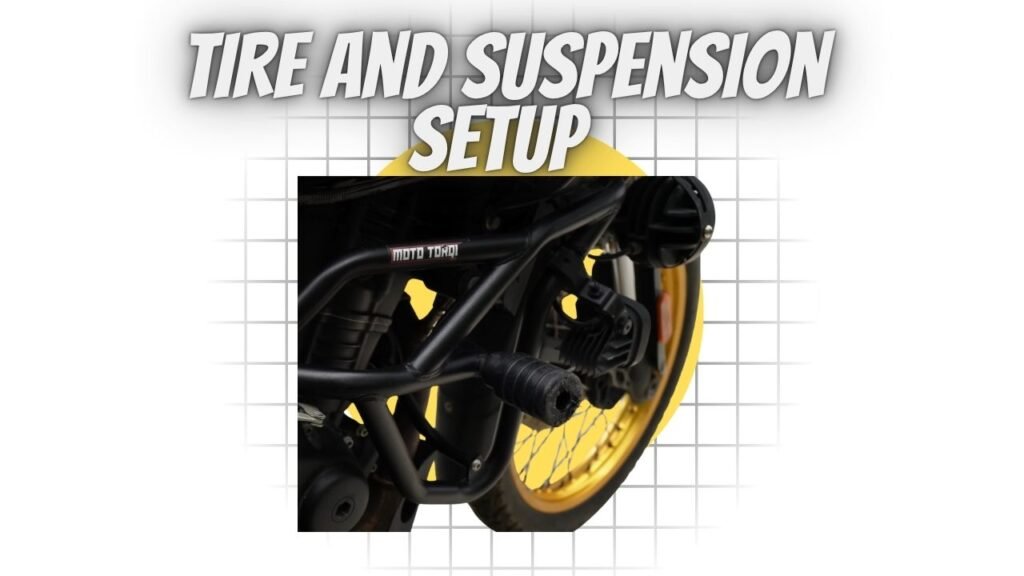
Company given suspension profile was 140/80-17 which i was not liking so i switched with the Maxxis MaxxFlore 140/70-17. You will be surprised to know that this small changes had improved handling by allot. This bike also feels lighter and braking is much more responsive.
My sibling is 5’3”, and with the seat and suspension adjusted to their lowest setting, I feel completely in control now. If you’re shorter, the low-seat option will help even more.
My Thoughts
And that’s pretty much every modification I’ve done so far. If I’ve missed anything, let me know in the comments — I’ll cover it in the next post.
Up next is my Konkan Monsoon Ride, so stay tuned for that one. Till then, Keep loving, keep watching, and keep supporting.


Be First to Comment